
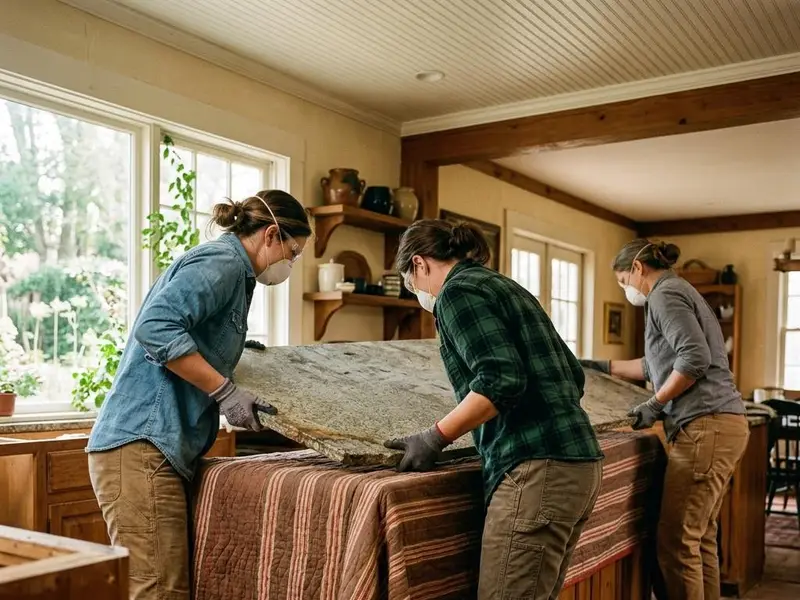
Clearing the way
Granite Countertop Removal
Taking out a countertop sounds simple until the first pry bar slips into a cabinet face. Stone tops are heavy, bonded with adhesive, and sometimes tied into a tile backsplash.
Careful removal matters most when you plan to keep your cabinets, reuse the old granite elsewhere, or reinstall the same top after other work.
Protecting Cabinets and Walls During Removal
Granite is bonded to cabinets with silicone or construction adhesive. Cutting that bond cleanly prevents the top from cracking and keeps the cabinet rails intact.
Backsplashes are another trap. Tile set tight against the stone may need to come off first, and stone backsplash pieces are usually removed before the main counter.
How Removal Unfolds
- 01
Plan the lift
Piece sizes, seams and the exit path are checked so nothing gets wedged in a hallway.
- 02
Release
Sinks are freed and adhesive is cut along every support point.
- 03
Lift and carry
Each piece is lifted level and carried upright to reduce the chance of cracking.
- 04
Prep the cabinets
Old adhesive and debris are scraped away so the cabinet tops are ready for templating.
Planning to Reuse the Old Stone?
A removed granite top can become a potting bench, a workshop surface or a laundry room counter. Say so before removal begins so the pieces can be handled for reuse.
If you plan to put the same top back after cabinet or flooring work, see the reinstallation page for how that process differs.
Related Countertop Services
Projects rarely involve just one step. These guides cover the work that most often comes before or after this service.
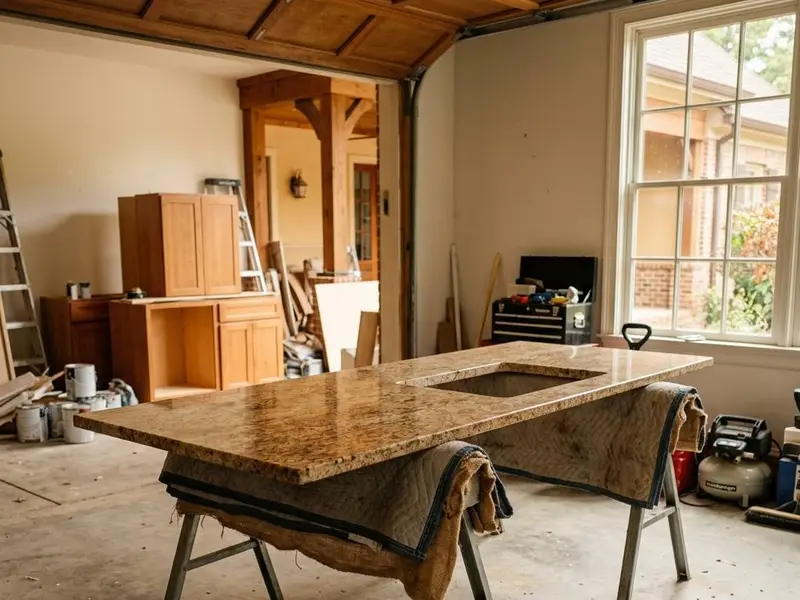
Granite Countertop Reinstallation
Removing and resetting your existing granite after cabinet, flooring or plumbing work, or moving it to new cabinets.
Explore Granite Countertop Reinstallation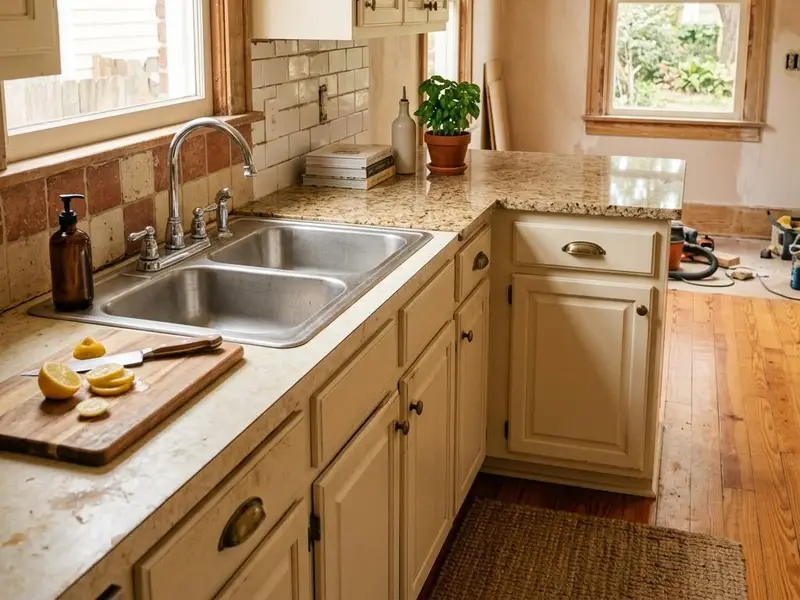
Granite Countertop Replacement
Swapping tired laminate, tile or dated stone for new granite while keeping your existing cabinets in place.
Explore Granite Countertop Replacement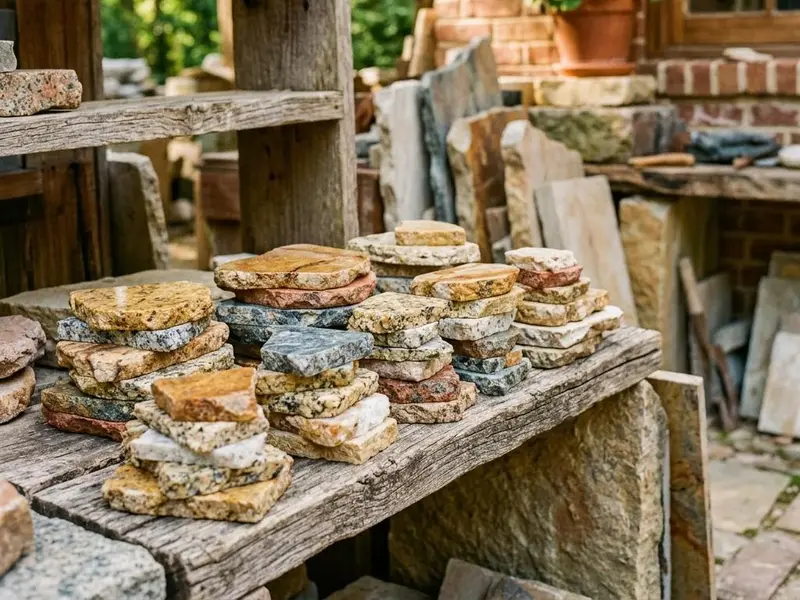
Granite Remnant Countertops
Off cuts from larger slabs that are perfect for vanities, laundry rooms, desks and other small projects.
Explore Granite Remnant Countertops
Talk Through Your Granite Countertop Removal Project
Share a few photos, rough measurements and what you hope to change. A short conversation is the easiest way to plan the next step.