
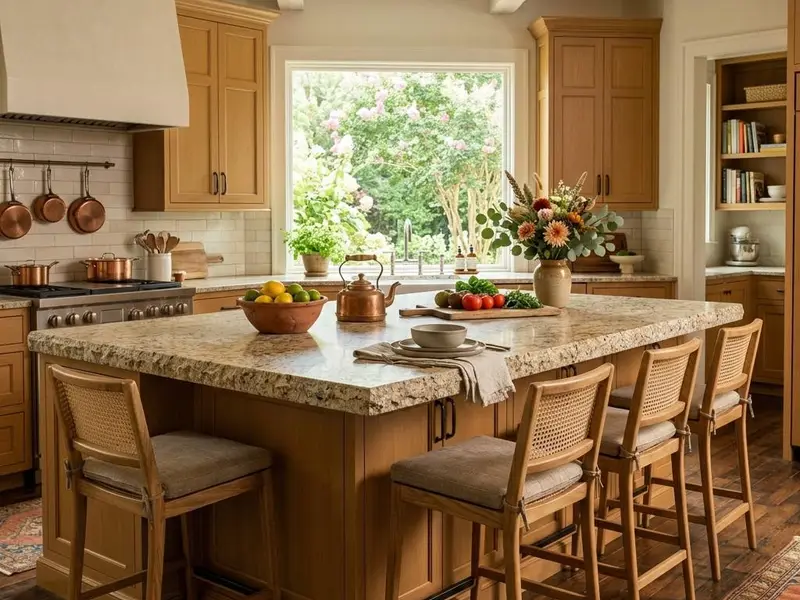
The gathering place
Granite Island Installation
An island is where people end up at every party. It is homework desk, buffet line and coffee bar in one, and the granite on top is often the showpiece of the kitchen.
Islands bring unique challenges: larger pieces, overhangs that need support, and a slab that should look beautiful from every side.
Overhang Support and Slab Size
Granite can overhang a modest distance on its own, but deeper seating overhangs need brackets, corbels or steel supports to prevent cracking. Many installers follow stone industry guidance on maximum unsupported overhang for the slab thickness.
Large islands may exceed the size of a single slab. Choosing a slab early, and confirming it can cover the island without a seam, avoids a surprise later.
Planning an Island Top
- 01
Measure the room
Walkway clearance and seating space around the island are confirmed.
- 02
Choose a slab
Slab dimensions are checked against the island before anything is cut.
- 03
Add support
Brackets or supports are installed for longer overhangs.
- 04
Carry and set
The large piece is moved carefully and set level on the base.
Island Details That Make a Difference
Leave comfortable walkways around the island so two people can pass. Many designers aim for about three to four feet of clearance.
Plan outlets early. Island receptacles are typically handled by an electrician, and their location affects where stone cutouts or pop up outlets go.
Related Countertop Services
Projects rarely involve just one step. These guides cover the work that most often comes before or after this service.
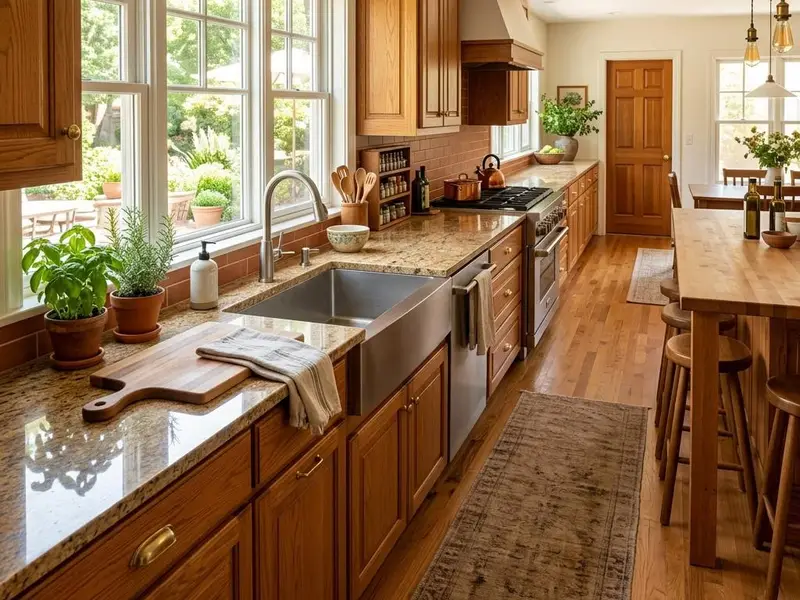
Kitchen Granite Countertops
Planning granite for the busiest room in the house, from sink runs and prep zones to color that hides daily crumbs.
Explore Kitchen Granite Countertops
Custom Granite Fabrication
Cutting, edging and polishing a raw slab into pieces shaped for your exact cabinets, sink and room.
Explore Custom Granite Fabrication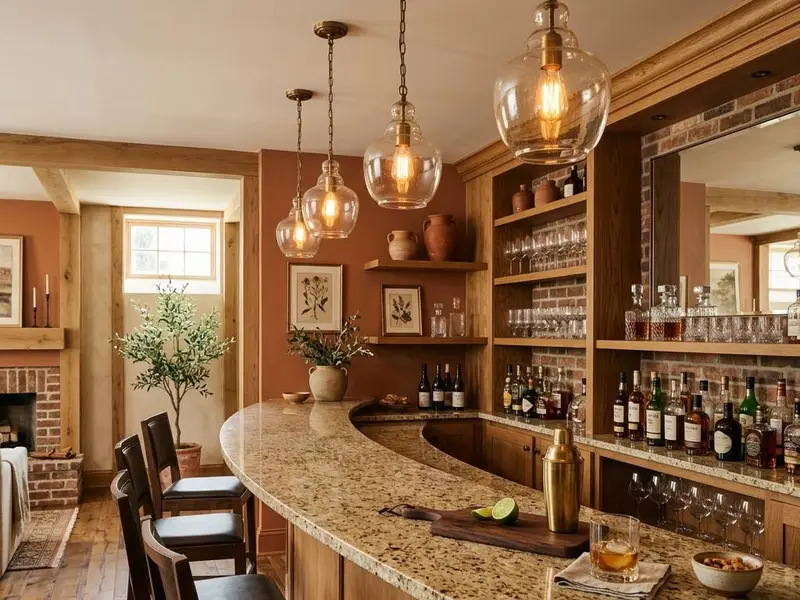
Granite Bar Top Installation
Raised bars, home bars and curved counters in granite, finished with comfortable edges and correct heights.
Explore Granite Bar Top Installation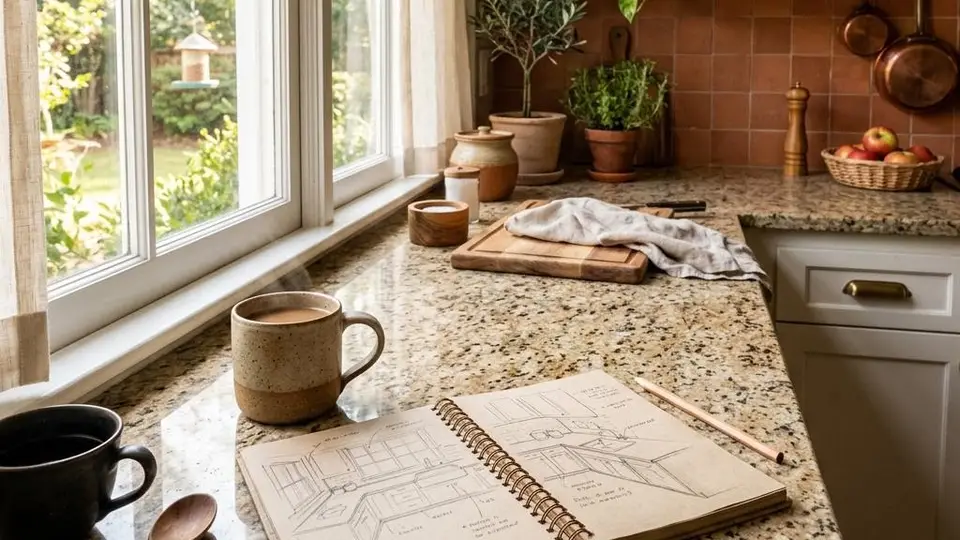
Talk Through Your Granite Island Installation Project
Share a few photos, rough measurements and what you hope to change. A short conversation is the easiest way to plan the next step.