
Find the cause, then fix it
Granite Crack Repair
Discovering a crack in a granite countertop is unsettling. The good news is that many cracks can be stabilized and filled, especially when they are caught early.
The first step is always to understand why it cracked.
Telling a Fissure From a Crack
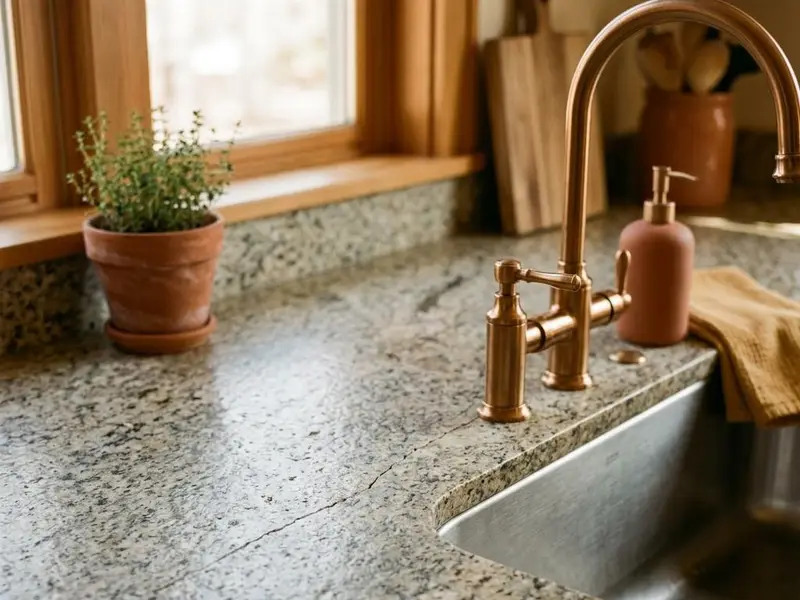
Natural fissures are part of granite. They look like fine lines but you cannot feel them with a fingernail and both sides are level. A true crack usually has a slight edge you can feel, and sometimes one side sits lower.
Cracks often start at the narrow strips in front of and behind a sink or cooktop, at unsupported overhangs, or above a cabinet that has settled.
Repairing a Crack Step by Step
- 01
Investigate
Cabinets, overhangs and nearby cutouts are checked for the source of stress.
- 02
Stabilize
Support problems are corrected so the crack does not keep moving.
- 03
Fill
Adhesive is worked deep into the crack and cured.
- 04
Finish
The surface is leveled, polished and sealed.
When Replacement Makes More Sense
If a crack runs across a whole piece, has separated widely, or keeps returning after support is fixed, replacing that piece may be wiser. A remnant in a similar color can sometimes fill the gap.
Avoid placing very hot pans directly on the thin strip in front of a sink. Trivets are cheap insurance.
Related Countertop Services
Projects rarely involve just one step. These guides cover the work that most often comes before or after this service.
Granite Countertop Repair
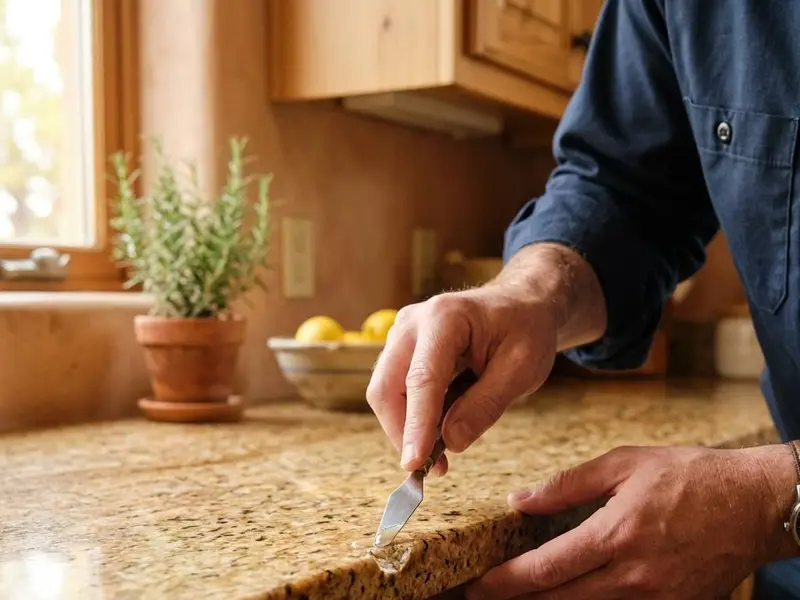
Fixing chips, cracks, loose seams, dull spots and stains so a good granite top keeps serving your home.
Explore Granite Countertop Repair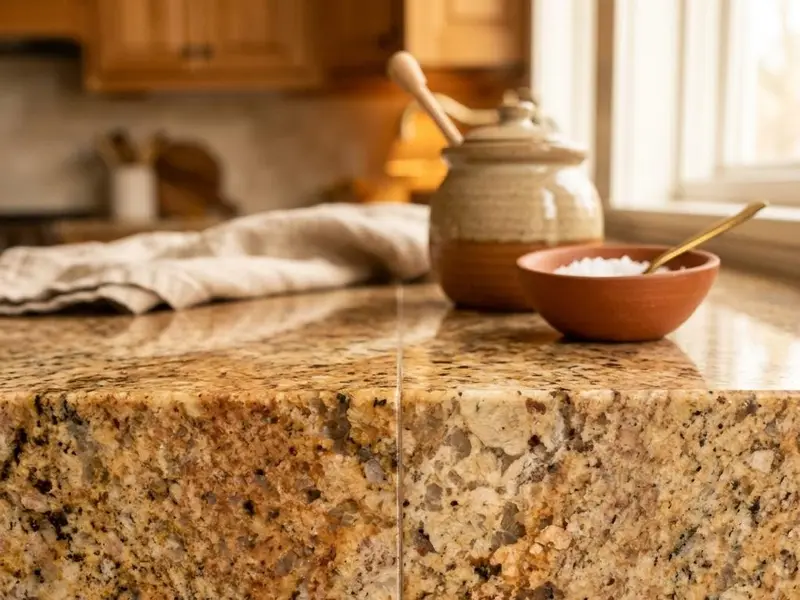
Granite Seam Repair
Reworking open, uneven or discolored seams so two pieces of granite read as one continuous surface again.
Explore Granite Seam Repair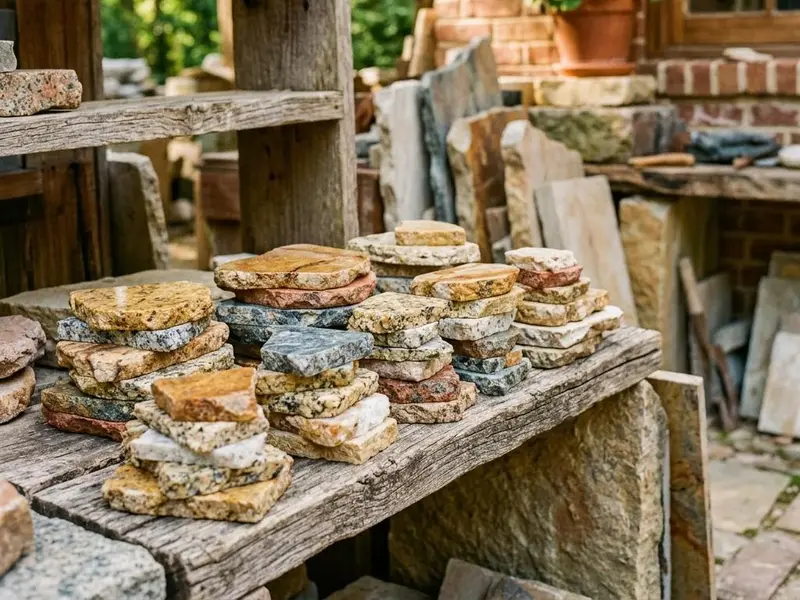
Granite Remnant Countertops
Off cuts from larger slabs that are perfect for vanities, laundry rooms, desks and other small projects.
Explore Granite Remnant Countertops
Talk Through Your Granite Crack Repair Project
Share a few photos, rough measurements and what you hope to change. A short conversation is the easiest way to plan the next step.